These instructions are for hanging with our hardware kit.
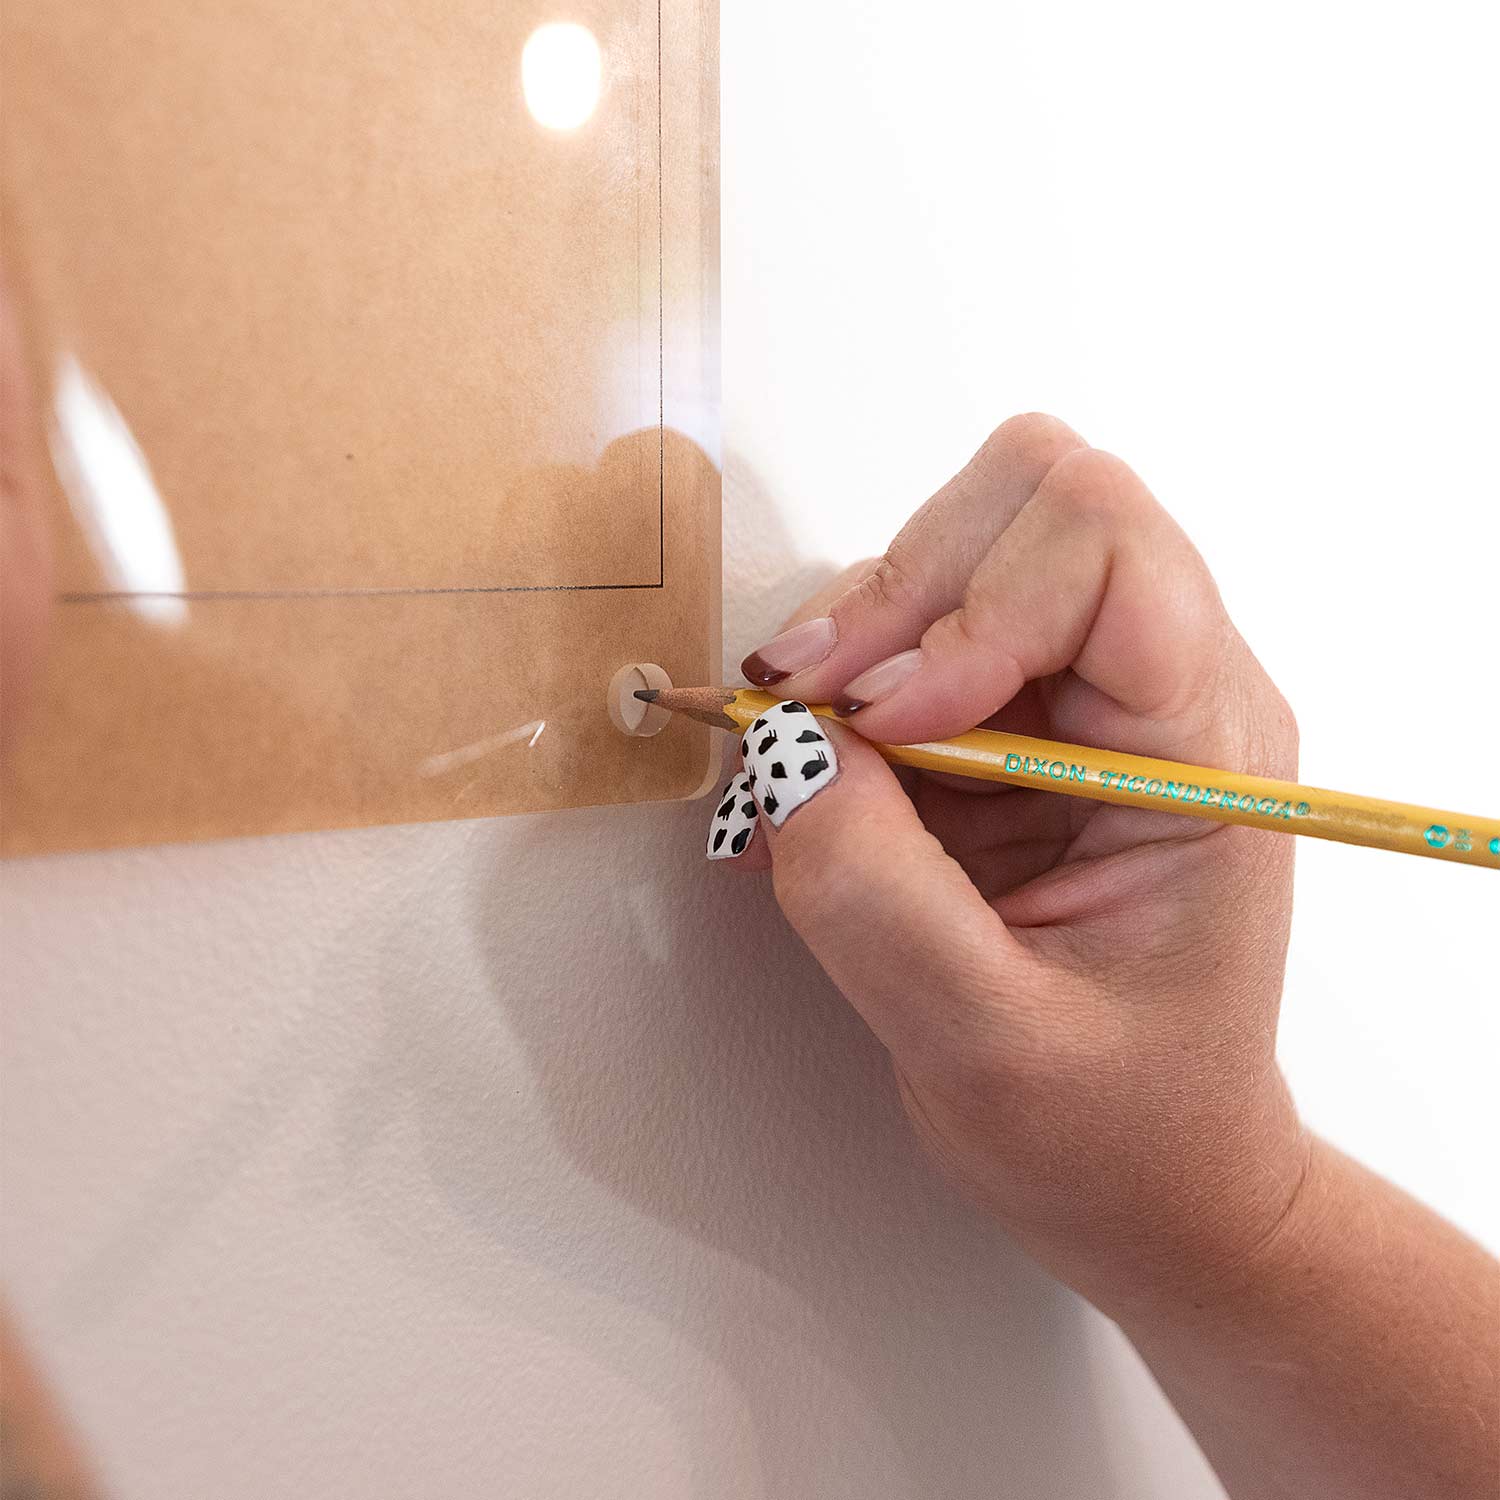
- Hold your wall calendar board on the wall where you would like it positioned and use a level to make sure it is straight.
- Mark the 4 holes in the center where you need to drill.
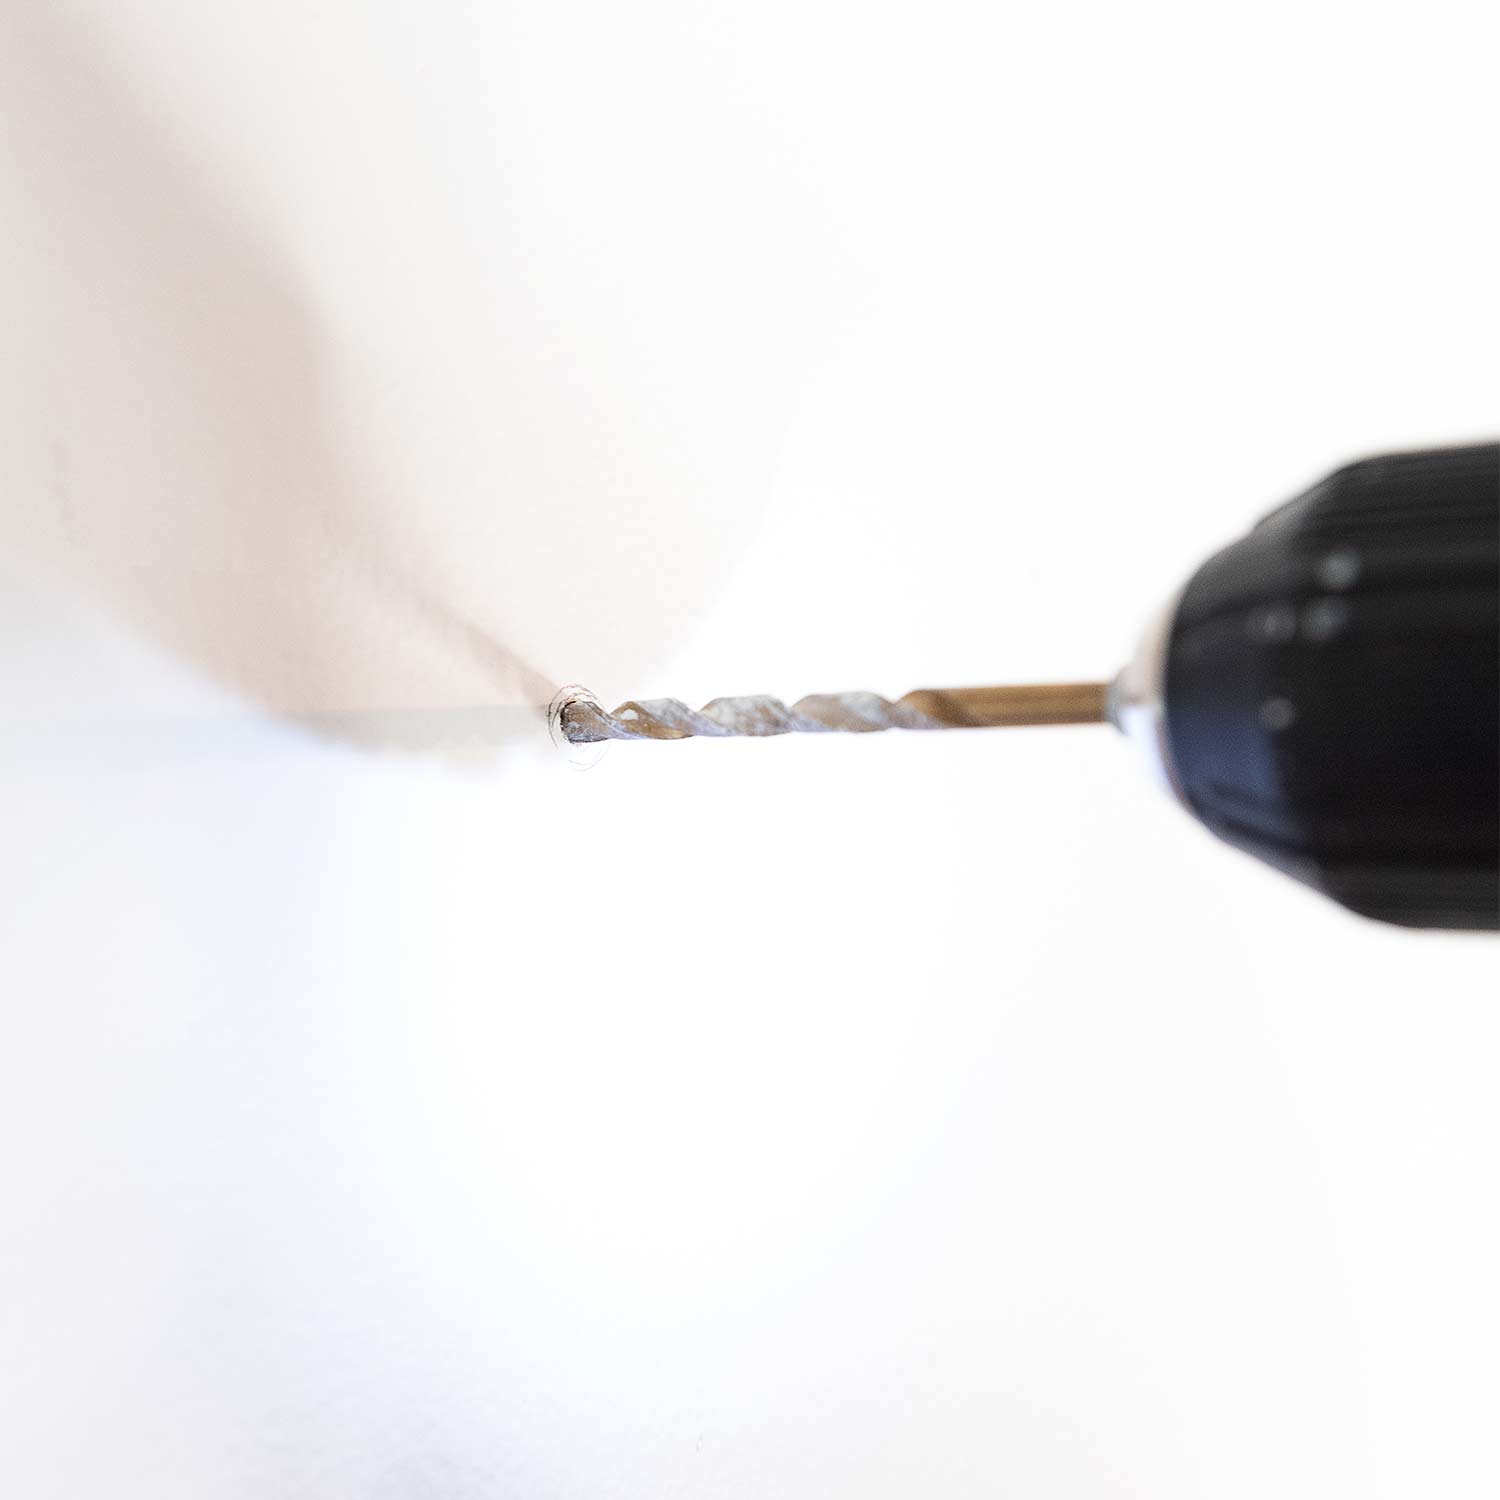
3. Drill Holes with a 3/16″ drill bit
PRO TIP: Do top two holes completely first and hang. Then remark bottom 2 holes, remove and start with step 2 again to complete. While there is wiggle room and you can do all 4 at the same time, we have found that it works a little more perfect this way.
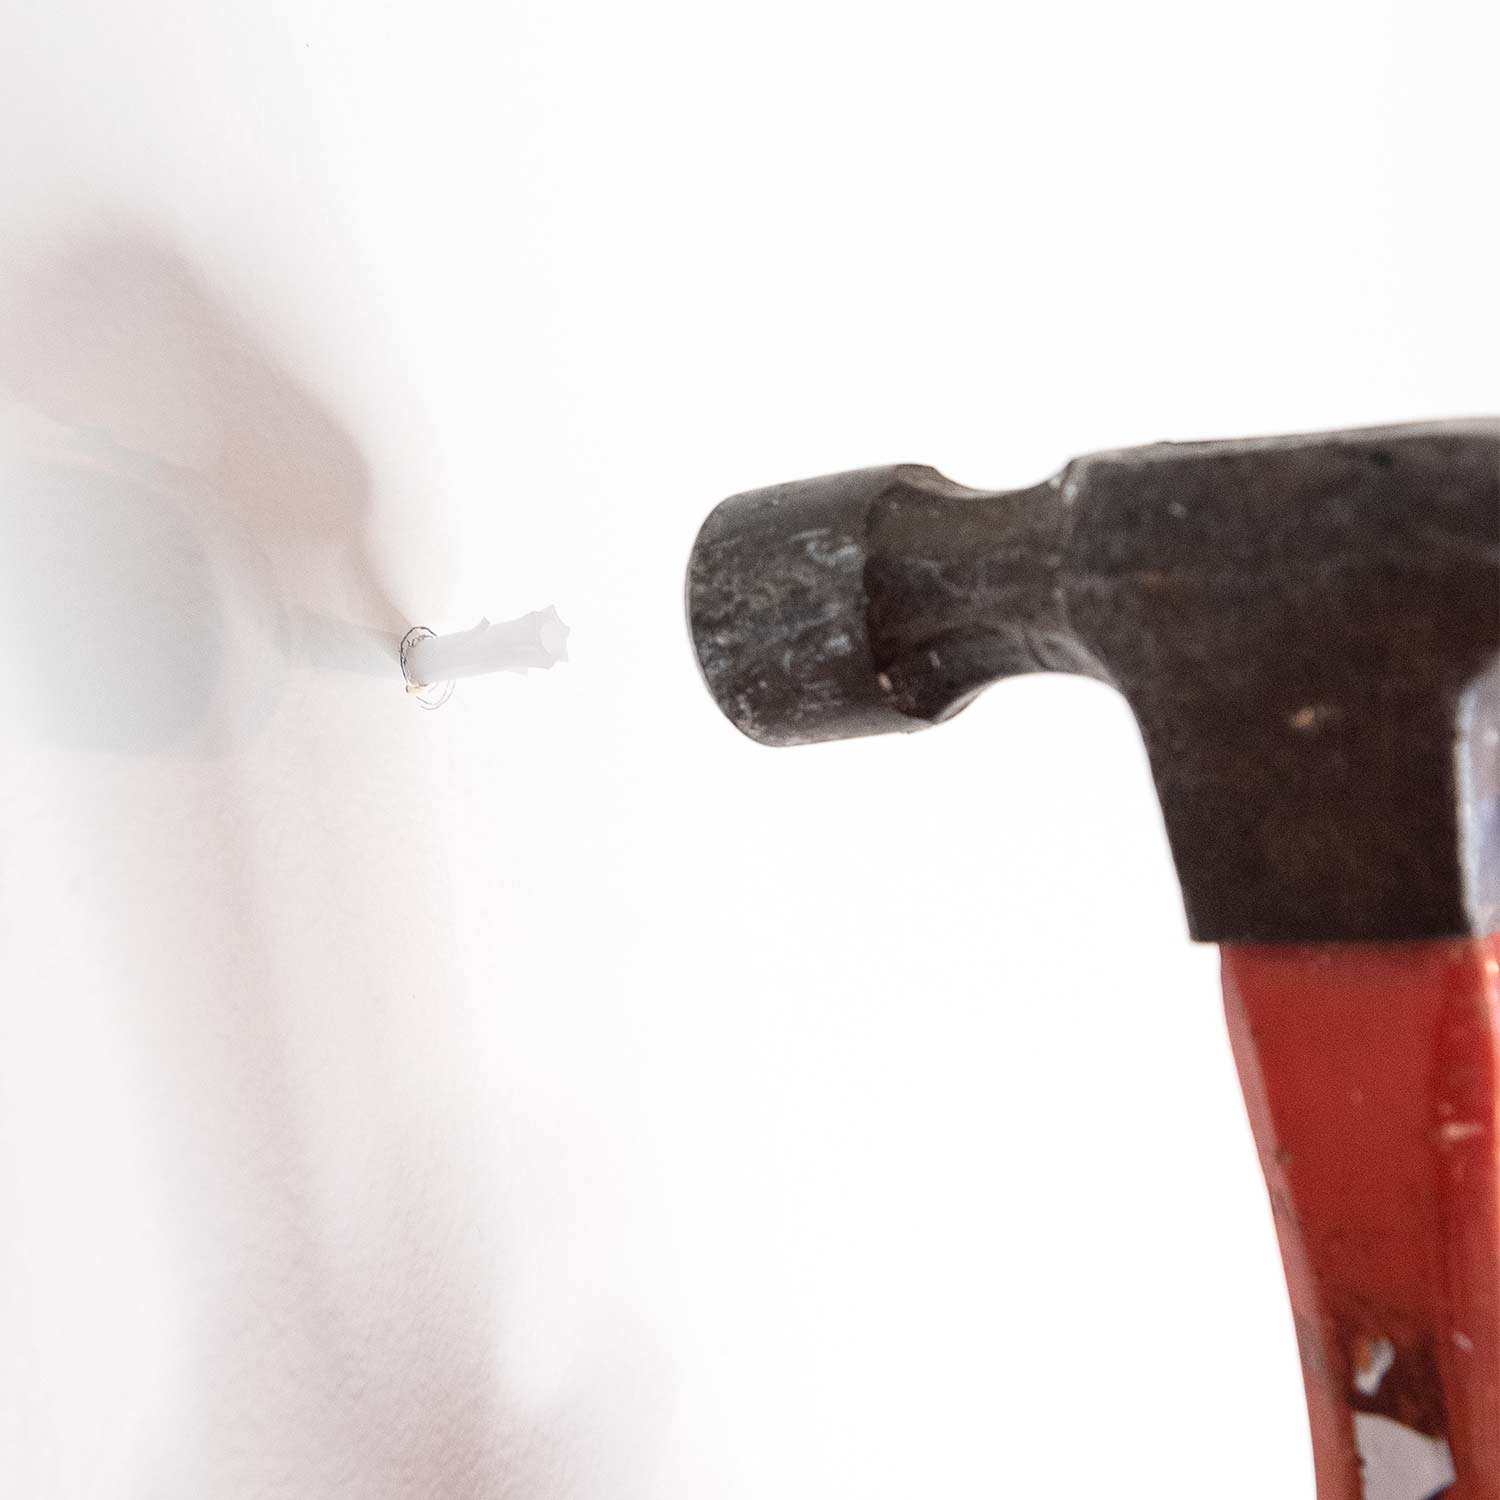
4. Lightly hammer in the anchor until flush.
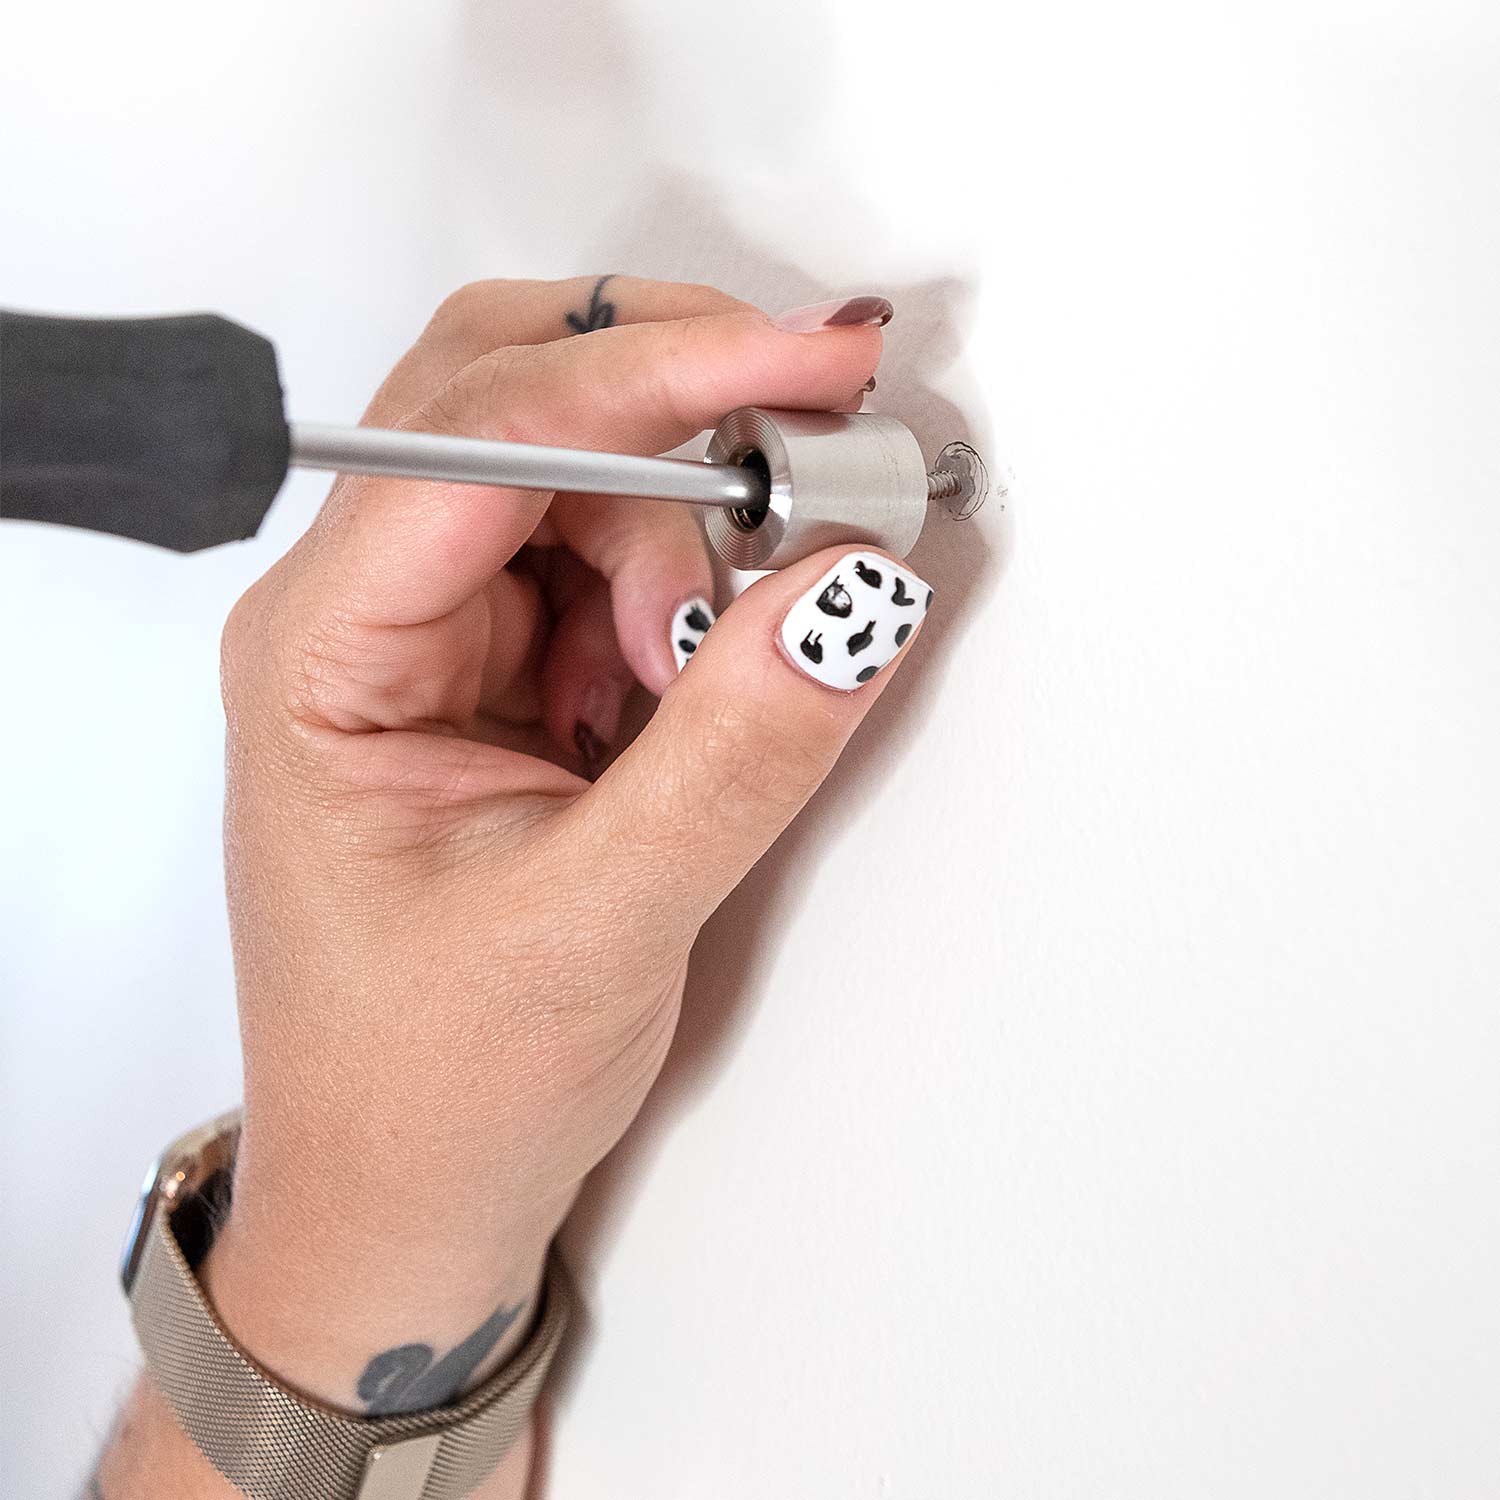
5. Screw in the back larger part of the hardware to the wall.
First you need to disassemble the hardware – the clear spacer can be used if wanted.
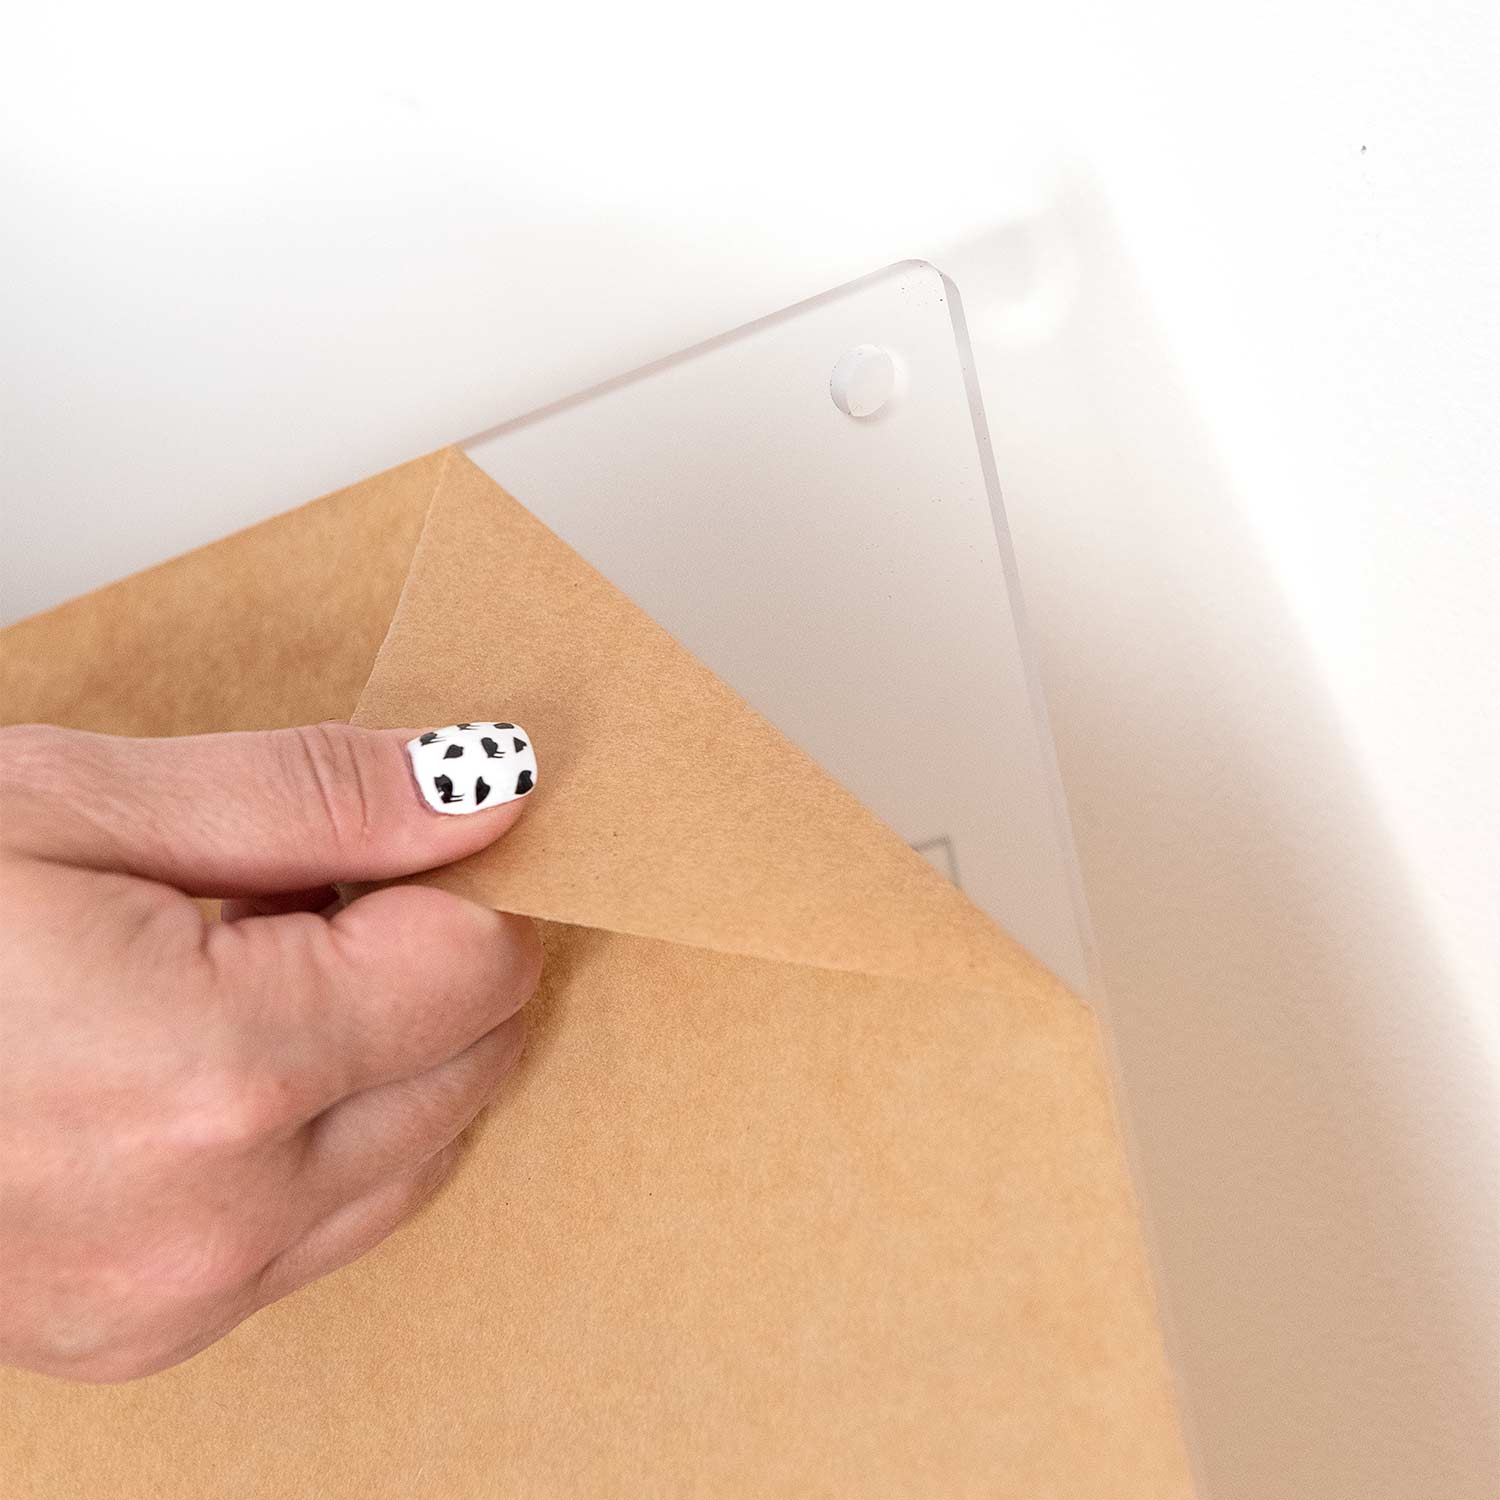
6. Peel off the brown backer.
PRO TIP: If you roll your finger over the edge it will start to pull without scratching it.
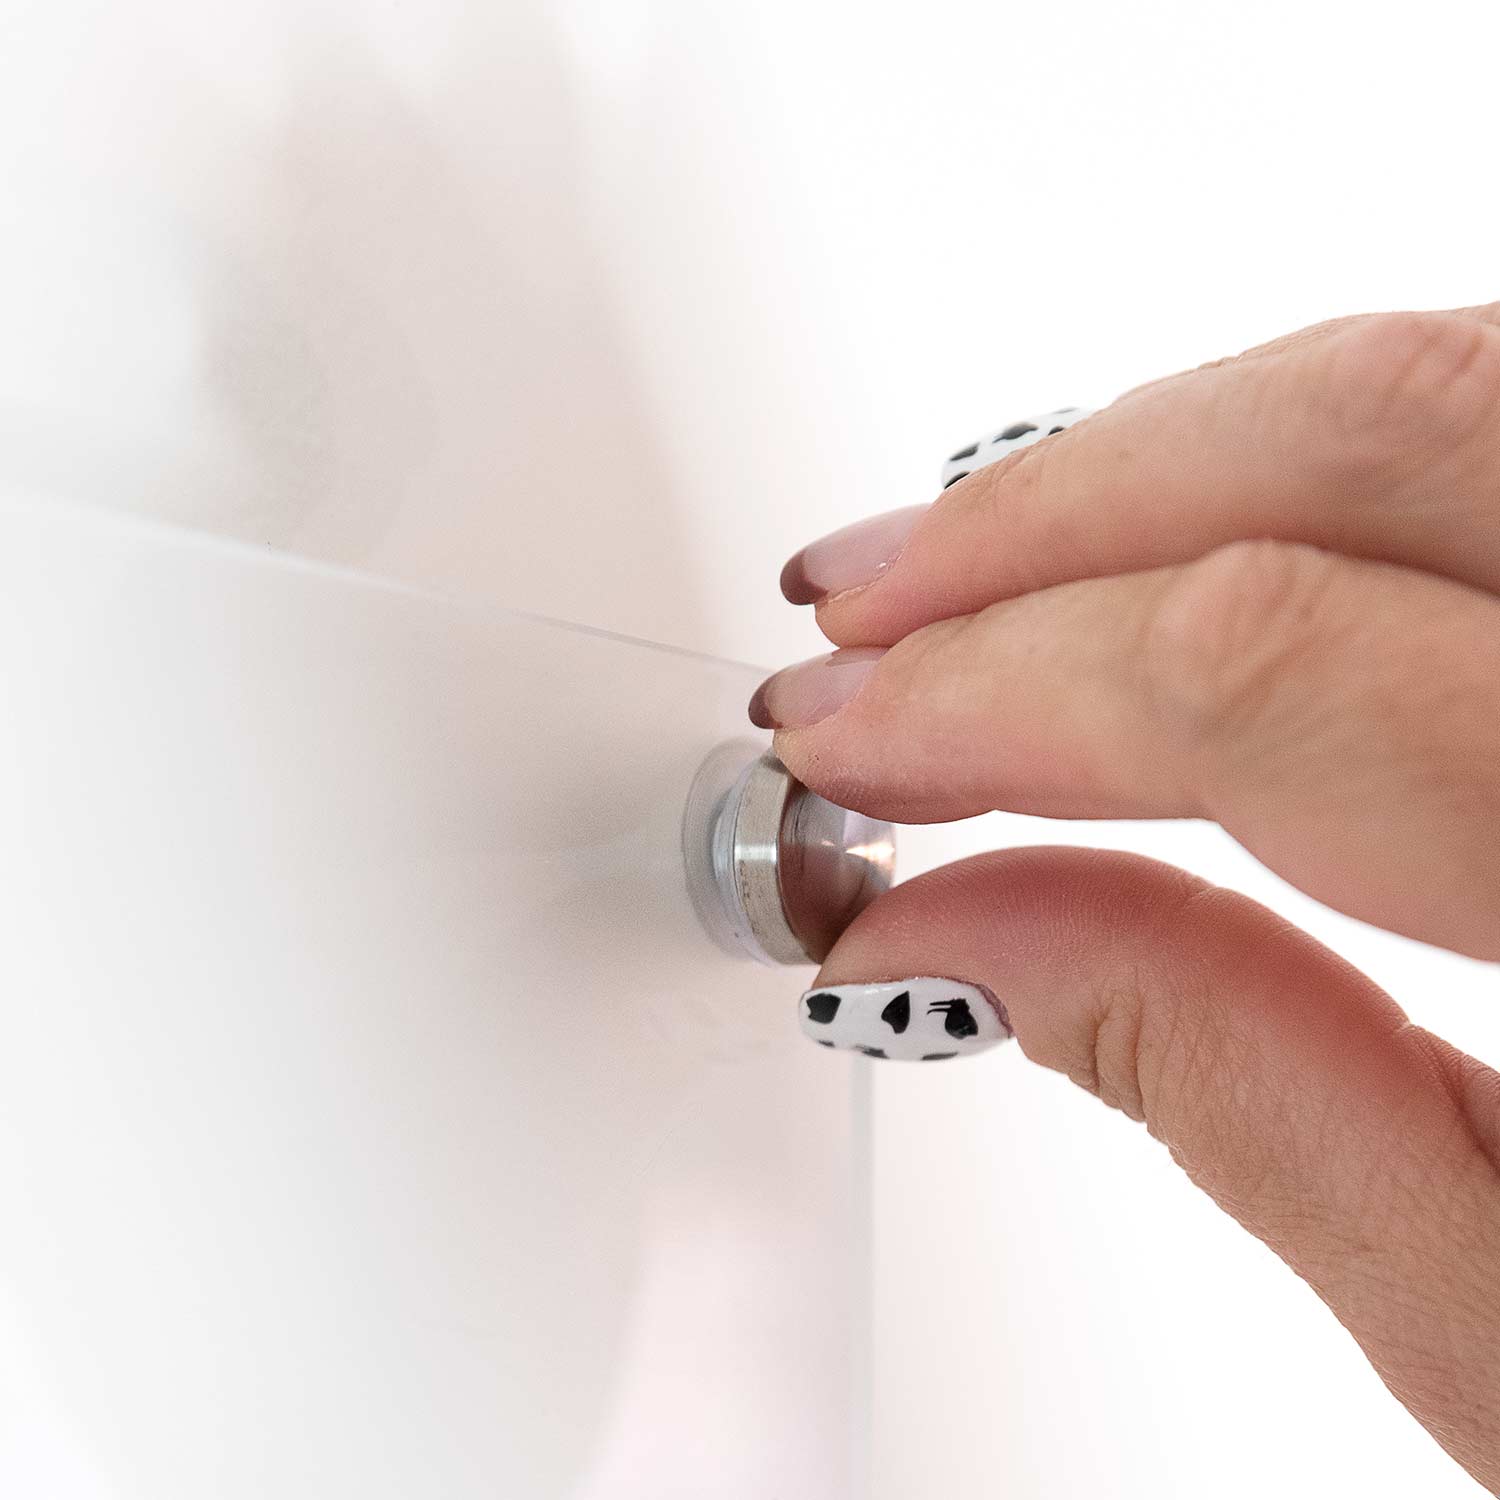
7. Place board and screw in the other hardware through the board.
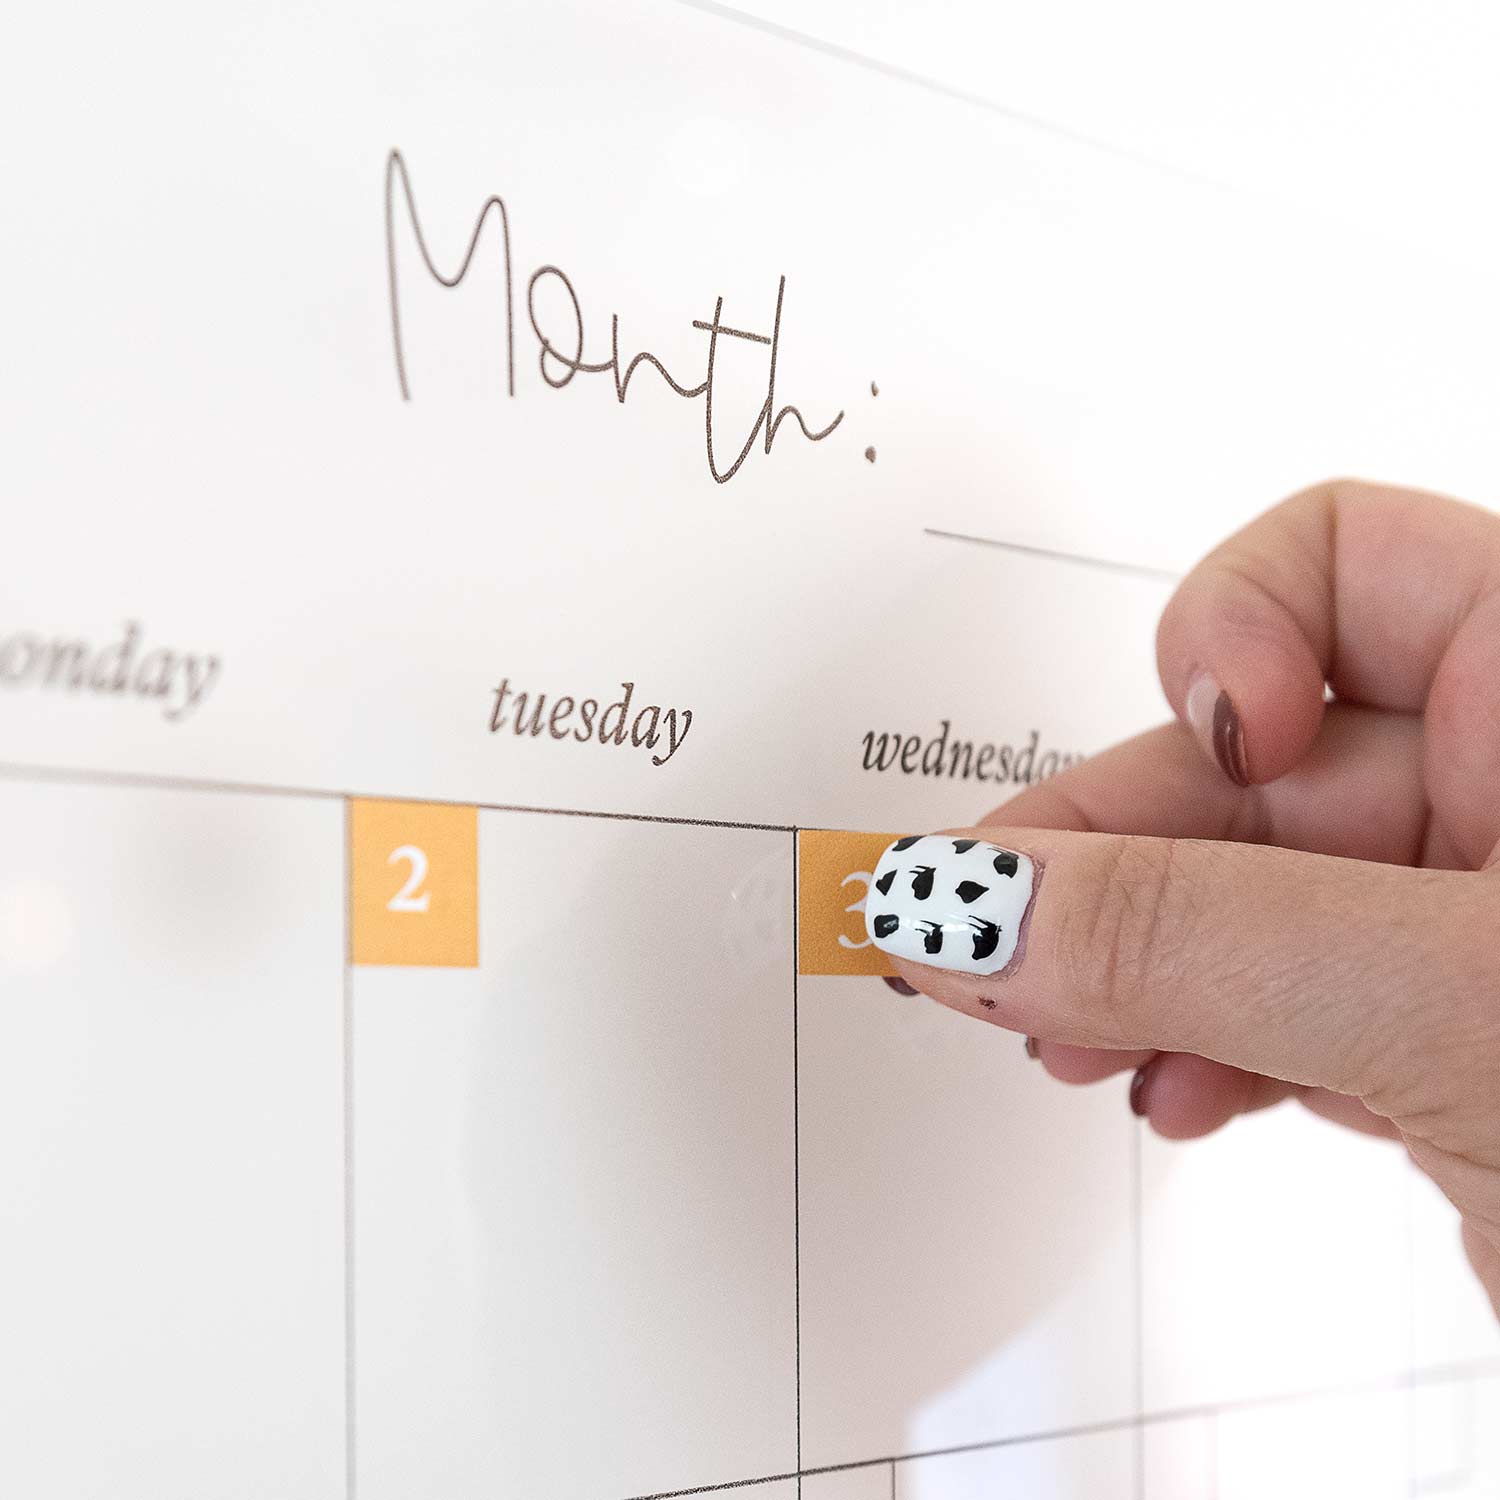
8. Let the fun begin! Decorate with our ultra removable stickers and dry erase markers.
PLEASE NOTE: ONLY use our BOARD APPROVED ULTRA REMOVABLE STICKERS.

