

Welcome! Building your own organizer is not only rewarding but it makes it more functional for YOU! We will call this section BUILD-A-PLANNER!
While we all want to just jump online and quickly place an order, this does take just a little longer. We don’t want you to get overwhelmed so we hope this guide will help you with the process. Don’t forget, you can always click at the top left of your screen to find a Brand Ambassador that can assist you building your perfect organizer!
If you are reading this, you probably like to write things down so you can print this sheet and make your choices as you go so the shopping will be faster and easier!
Step 1 – Choose your Size and Cover
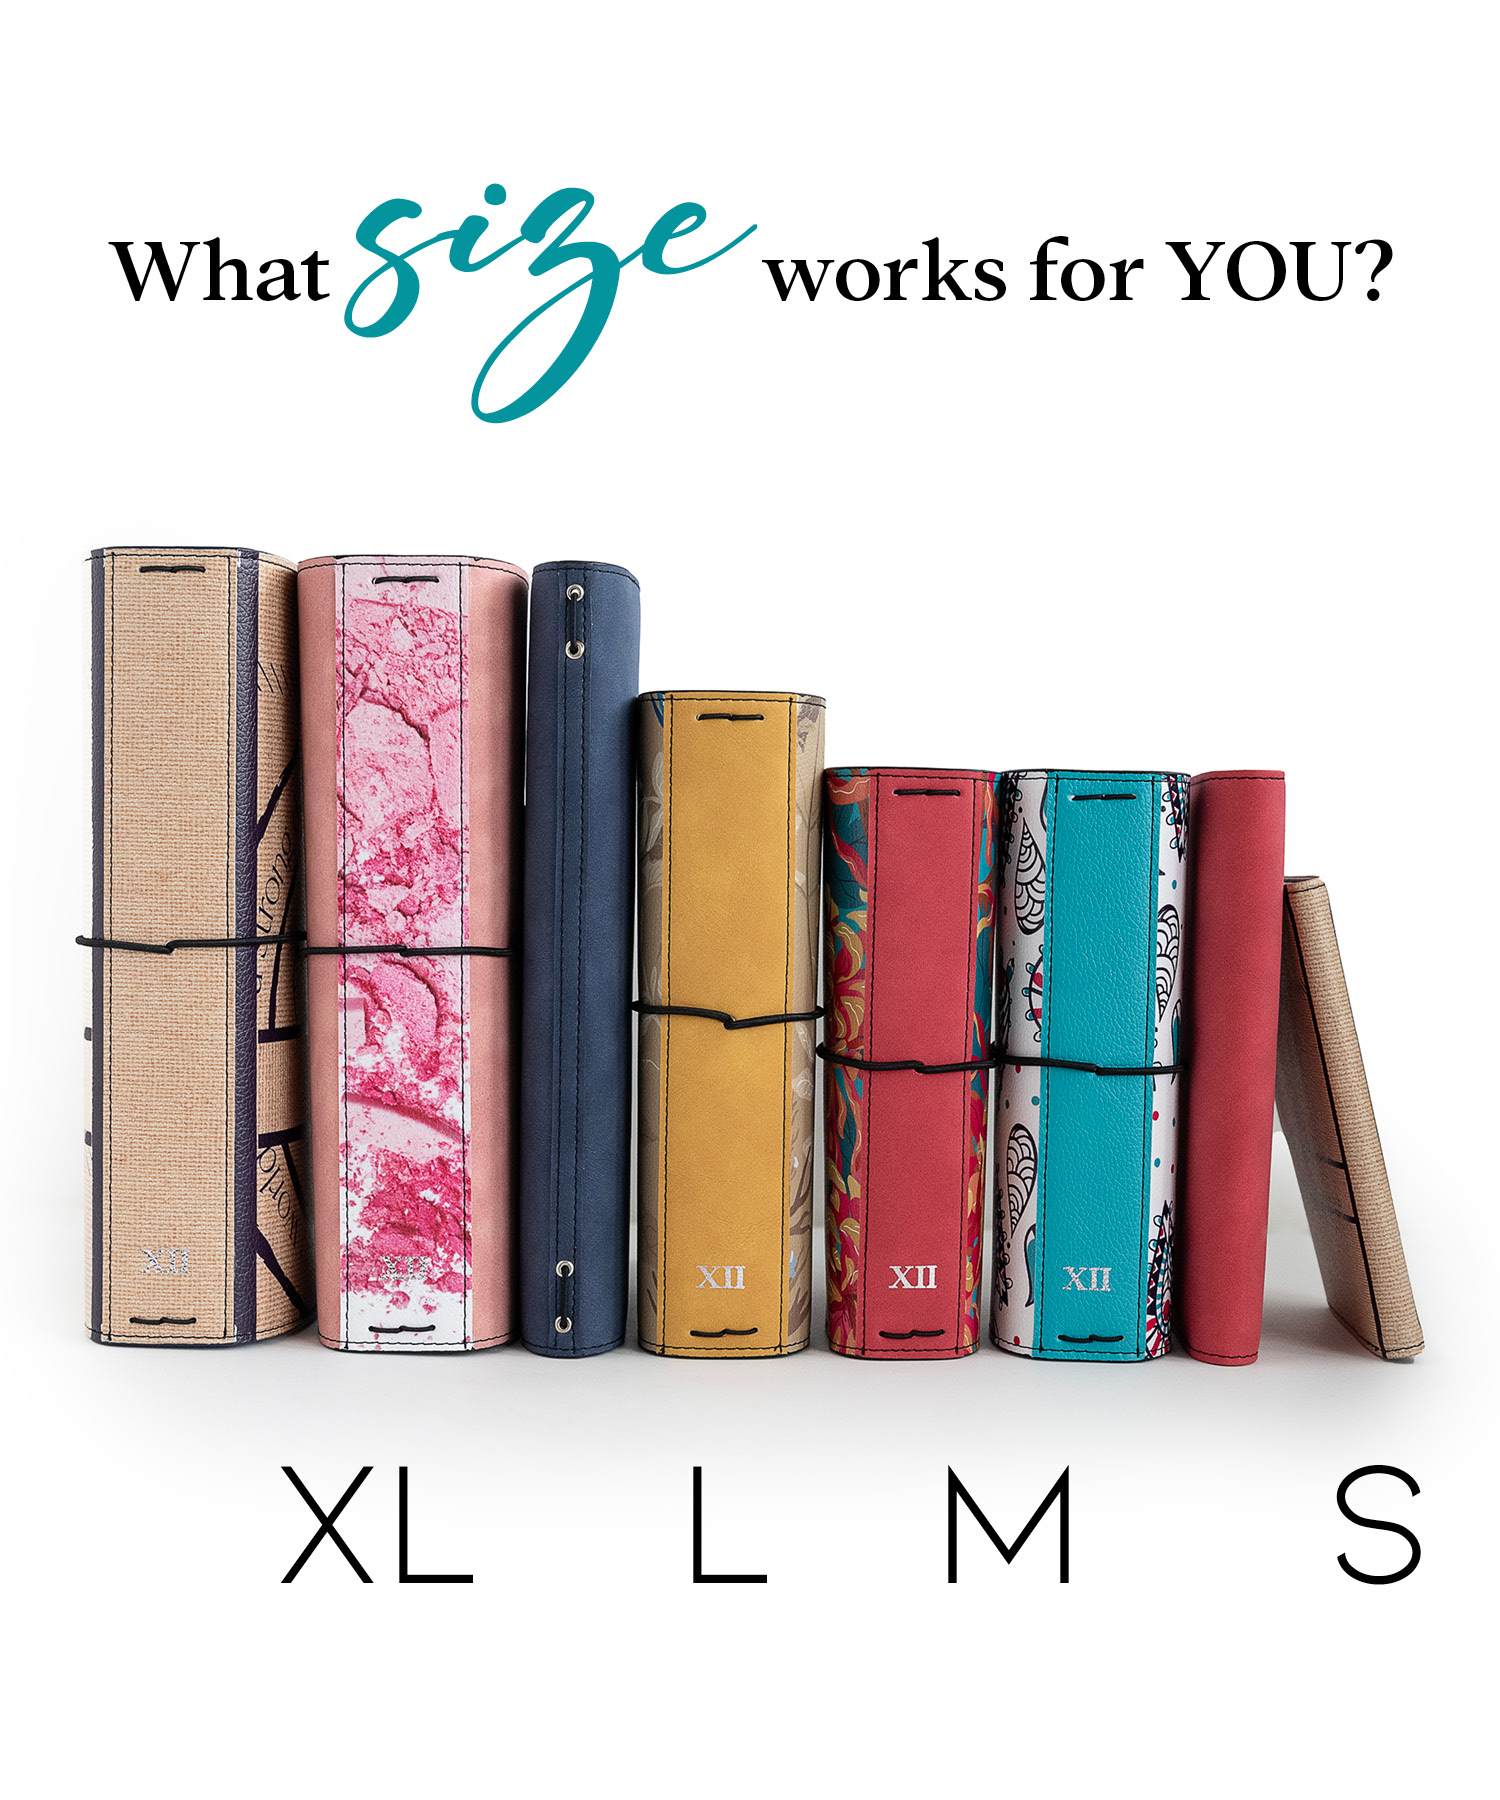
Selecting your size
Here are a few examples of how the organizers are used in reference to size:
Small – Typically used as a wallet or journal.
Medium – This fits in most purses and is great for on the go.
Large – When you need a little more than a Medium.
XL – This is great to leave on your desk, if you are going to fill it with a lot.
Cover Styles
Classic
- Available in Small, Medium, and XL
- Holds 4-8 inserts
- Stitched spine
Interchangeable
- Available in Medium and XL
- Holds 4-8 inserts
- Stitched Spine
- Our exclusive zipper front which allows you to change you planner design in a zip!
- To buy an interchangeable cover you either want a set which is a matching front and back (then of course add some cute fronts!), or you may want to purchase at least a back and front if buying separate so you can get started. Make sure to buy the pieces in the same size.
Classic PRO
- Available in Medium and XL
- Holds 2-4 inserts
- A slimmer version without a stitched spine
Trifolio and go
- Available in Small
- Holds 2 inserts
- A slim fit with a fun wrap around flap
Some fall in love with a specific cover and pick it first and then pick inserts. If you are more concerned with how much you need to organize, push pause and jump to step 2 where you will choose your inserts. We will wait for you! Just come back to step 1 when you are done and make sure to grab a cover to hold all your inserts in a totally fashionable way!
Step 2 – Choose your Inserts
This is the part that may take a few moments. You want to choose all the pieces that will work for you. The great thing about this planner is that you can change them out as needed… or swap them into other planners because really most of our customers know that you can’t just have one once you start!
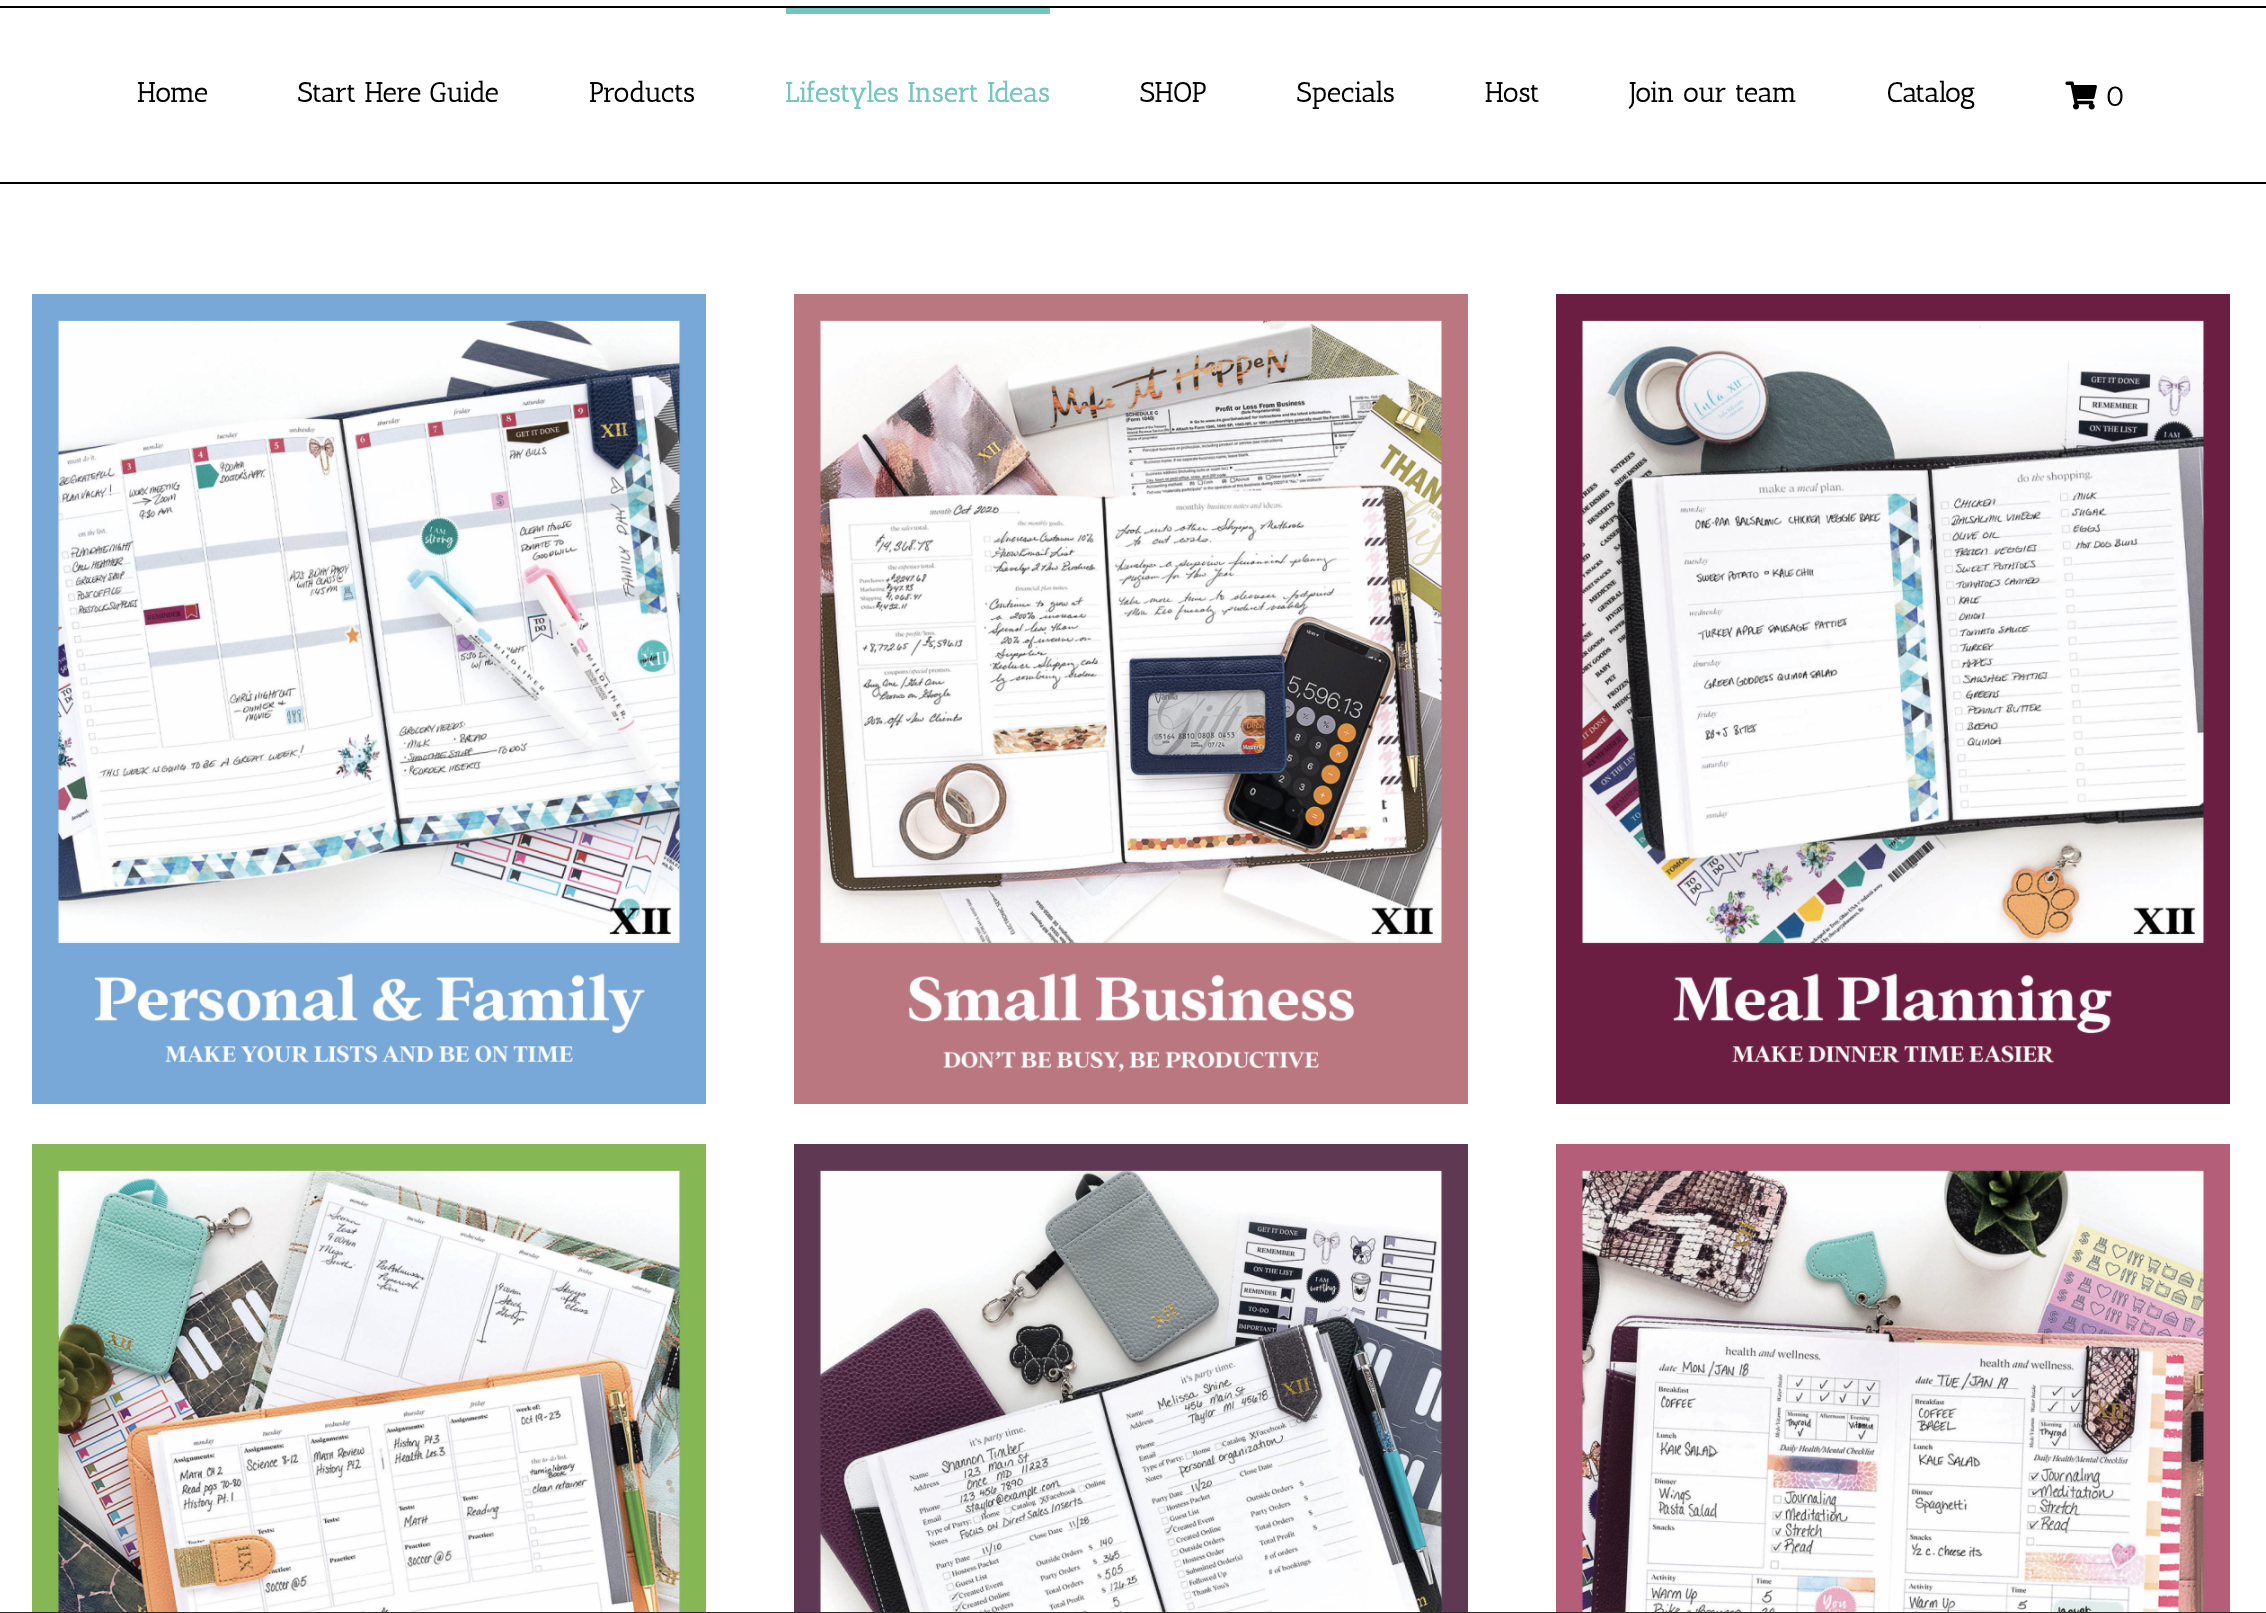
There are over 100 inserts – there are so many we have a Lifestyles & More page that will allow you to be guided by what you may identify with. Click the image to the left to open the lifestyle page in a new browser window. As you click each one it will take you to the shopping page to see the inserts we recommend per category. You can also use the search feature on the shopping page to see if we have something you are looking for.
Make sure to print out the printable if you have not already so you can really get a feel for the insert size. Here is the printable in case you didn’t already print it.
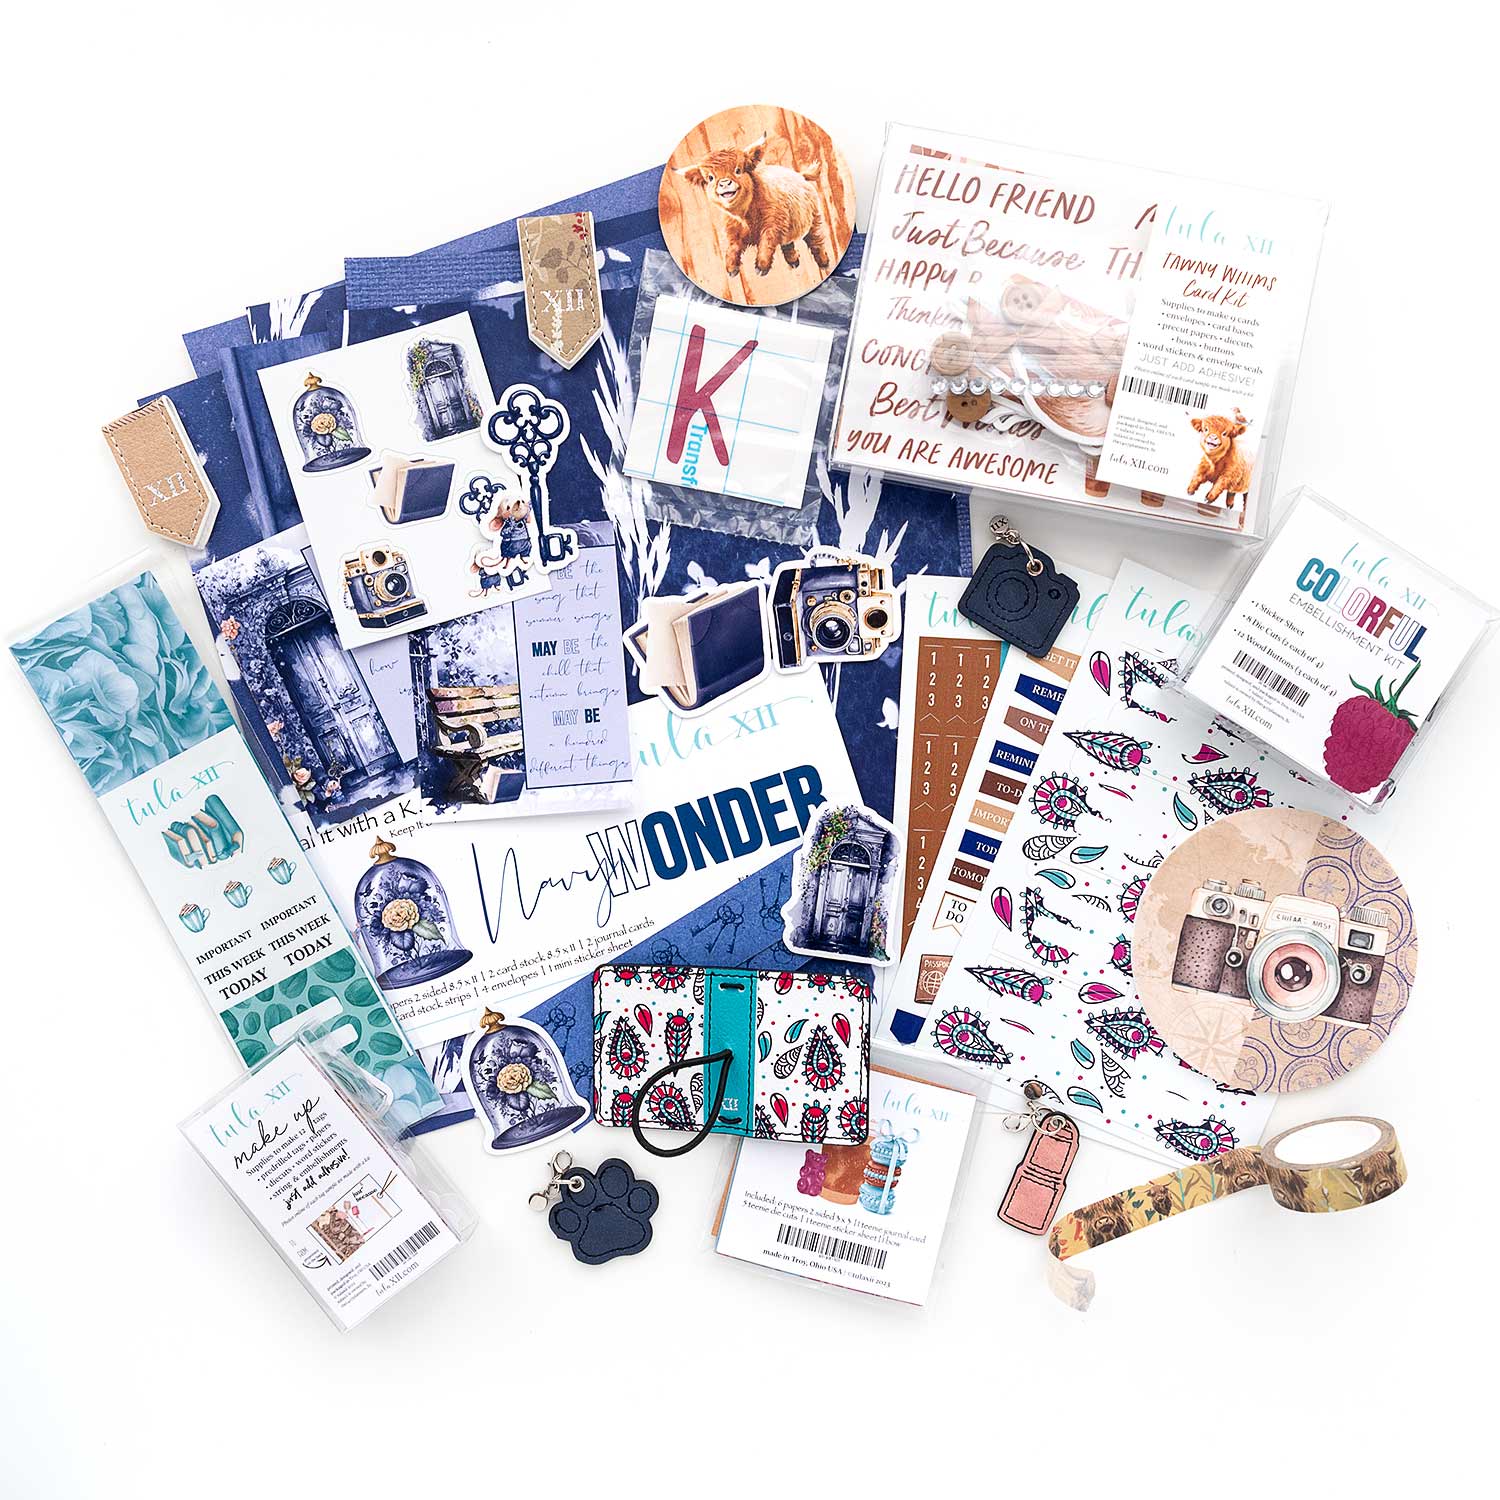
Step 3 – Accessorize!
Do you want to accessorize your planners even more? We have a wide variety of accessories and while most are for planners, you should be able to find other items to coordinate with your planner and organize in other areas.
In this case let’s focus on the accessories for your planner!
Our TOP sellers are the magnet clips, tab stickers, and any of the plastic pockets. However, clicking through all the accessories is fun and pretty! You can always jump to our products page to see a quick glimpse.

IMPORTANT!
Step… Okay this doesn’t have a step number because it really is just 1-2-3 to build your planner. However, we don’t want you to miss out on the monthly specials! When you start adding all the goodies to your cart (PS – make sure that they are all the same size if you are building one size planner for yourself*) make sure you check out the messages in the shopping cart. There are typically 2 messages. Just add all the items it says to qualify. For example if you buy 4 inserts, you must add your choice of jump band pack to get that for free.
*To double check the size before you click “checkout” be sure to review the items in your cart and make sure everything says the same size. Another trick is that the SKU contains a size code. Small is 03, Medium is 05, XL is xl (the plastics are the only sized item without this code but they still say the size in the cart)